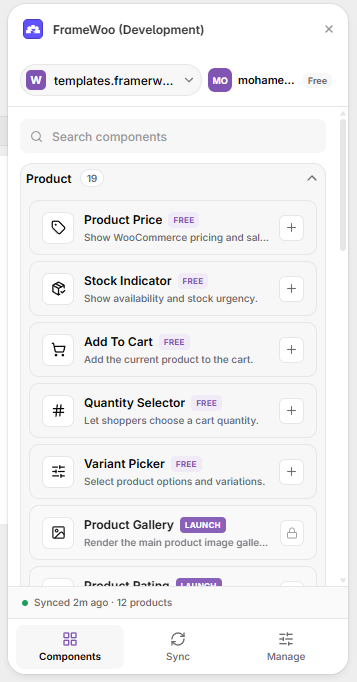
Set up FrameWoo
Follow this procedure to connect WooCommerce, create the managed Products collection, run your first sync, and add components in Framer.
1. Create or access your FrameWoo account
Open FrameWoo from the Framer Plugins menu. Create a free account if this is your first visit, or sign in with your existing FrameWoo account. This is separate from your WooCommerce store login.
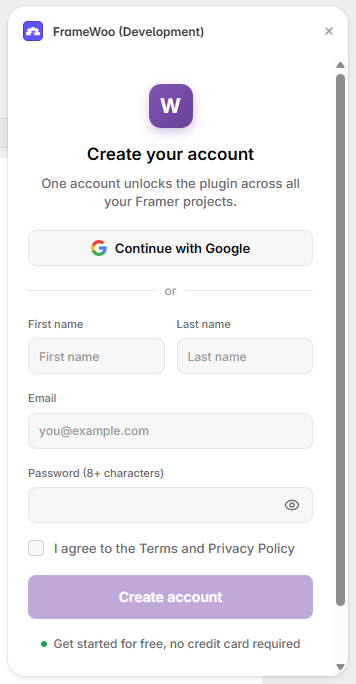
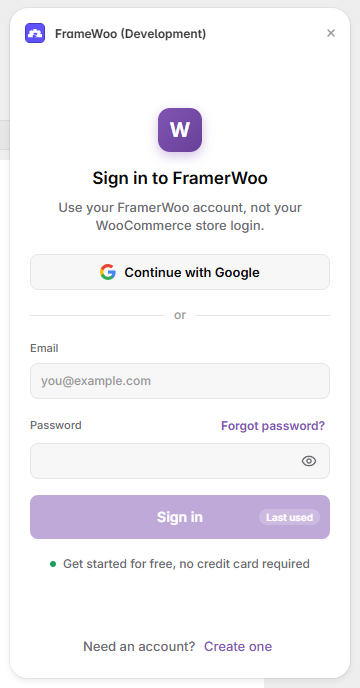
- Select Continue with Google, or enter your account details.
- For a new account, accept the Terms and Privacy Policy and select Create account.
- For an existing account, select Sign in.
2. Open the store setup
FrameWoo presents three milestones in order: WordPress helper, Store access, and Framer CMS. Complete each milestone before moving to the next.
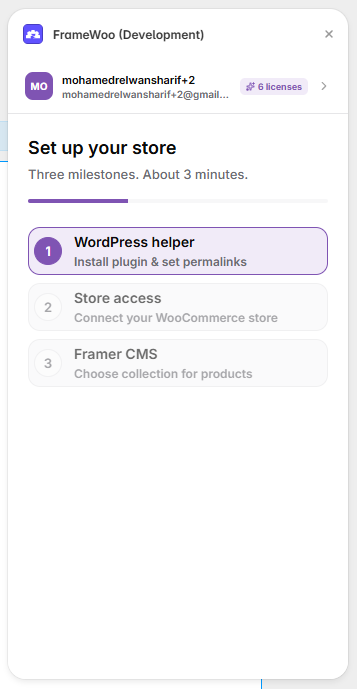
- Select WordPress helper to begin.
- Return to this screen after each milestone to continue.
3. Install the WordPress helper
The helper enables product imagery, CORS, and the account and order APIs used by your Framer site.
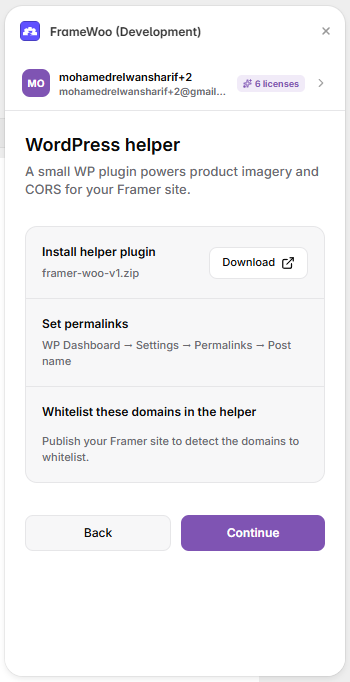
- Select Download in FrameWoo, or download the helper here.
- In WordPress, go to Plugins → Add New → Upload Plugin.
- Upload the zip, select Install Now, then Activate.
- Publish your Framer site so FrameWoo can detect its domains.
- Add each detected domain to the helper CORS whitelist.
framerwoo-helper.zip → Install Now → Activate
Configure permalinks
In WordPress, go to Settings → Permalinks. Choose a human-readable structure other than Plain. Post name is recommended.
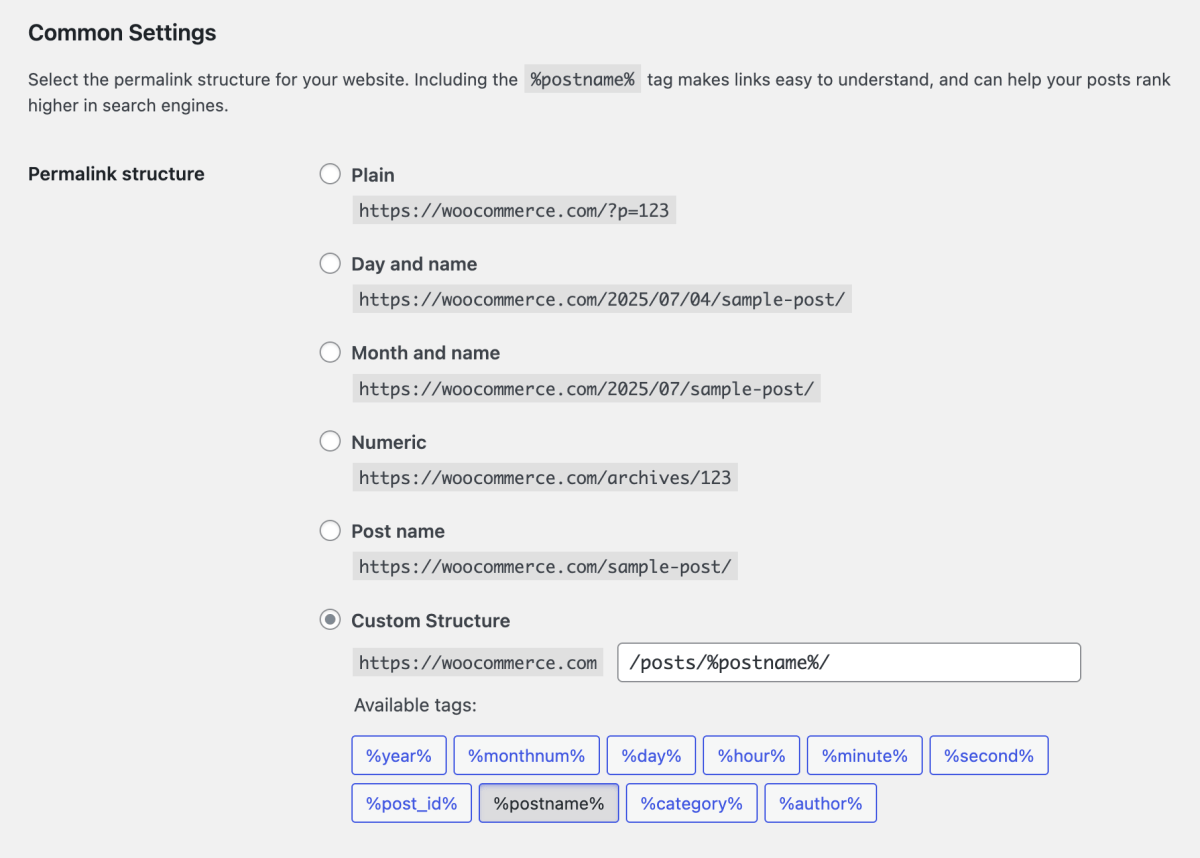
- Open Settings → Permalinks.
- Select Post name.
- Select Save Changes.
- Return to FrameWoo and select Continue.
Reference: WooCommerce REST API requirements.
4. Connect your WooCommerce store
Enter your store URL and connect with read-only REST API access. Read permission is sufficient for FrameWoo product sync.
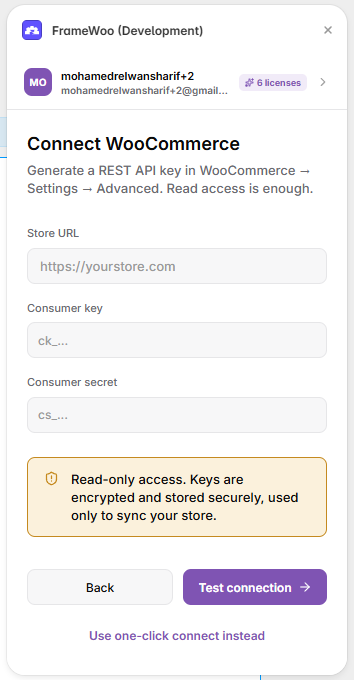
Generate read-only API keys
- In WordPress, go to WooCommerce → Settings → Advanced → REST API.
- Select Create an API key or Add Key.
- Enter FrameWoo as the description and choose a WordPress user.
- Set Permissions to Read.
- Select Generate API Key.
- Copy the Consumer Key and Consumer Secret into FrameWoo.
- Enter the Store URL and select Test connection.
You can select Use one-click connect instead when your store supports the approval flow. FrameWoo requests read and sync permissions only.
Reference: WooCommerce: Generate API keys.
5. Create the Framer Products collection
After the store connection succeeds, create the managed Framer CMS collection that will receive WooCommerce product data.
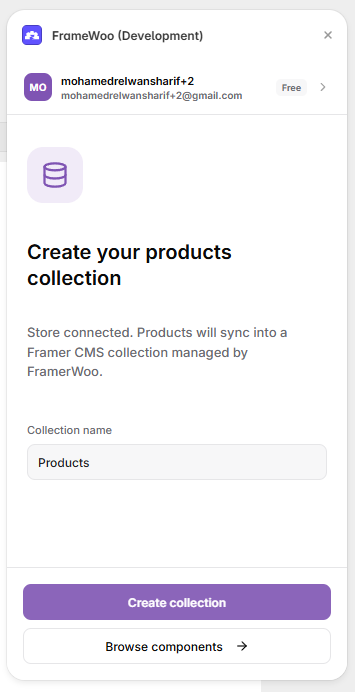
- Keep Products as the collection name, or enter a new name.
- Select Create collection.
- Open the new collection in the Framer CMS panel.
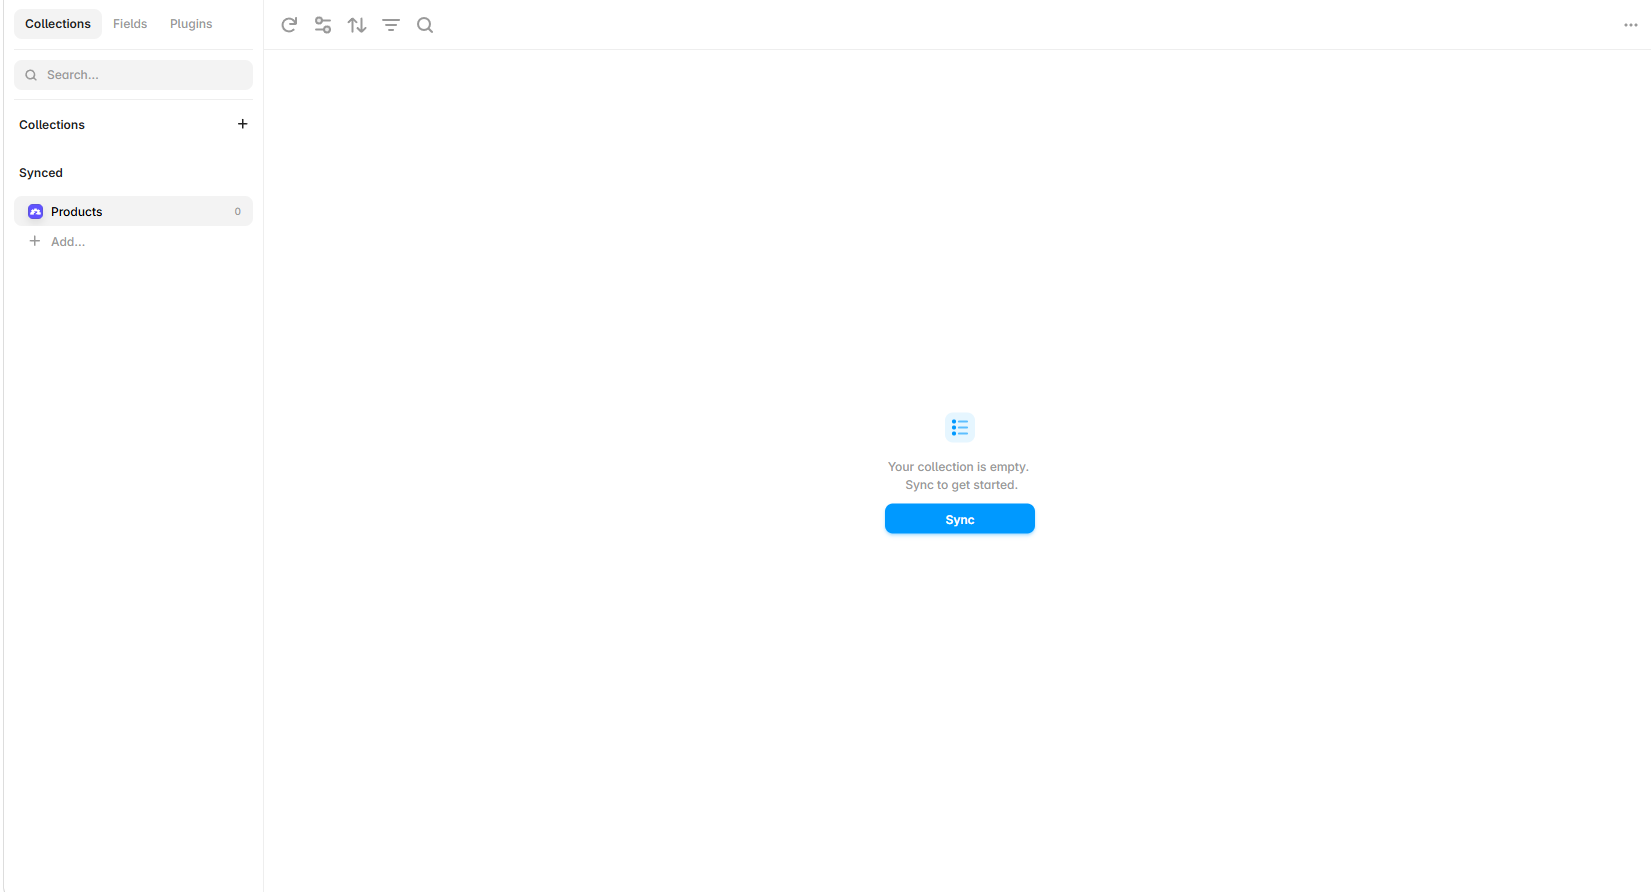
6. Run the first product sync
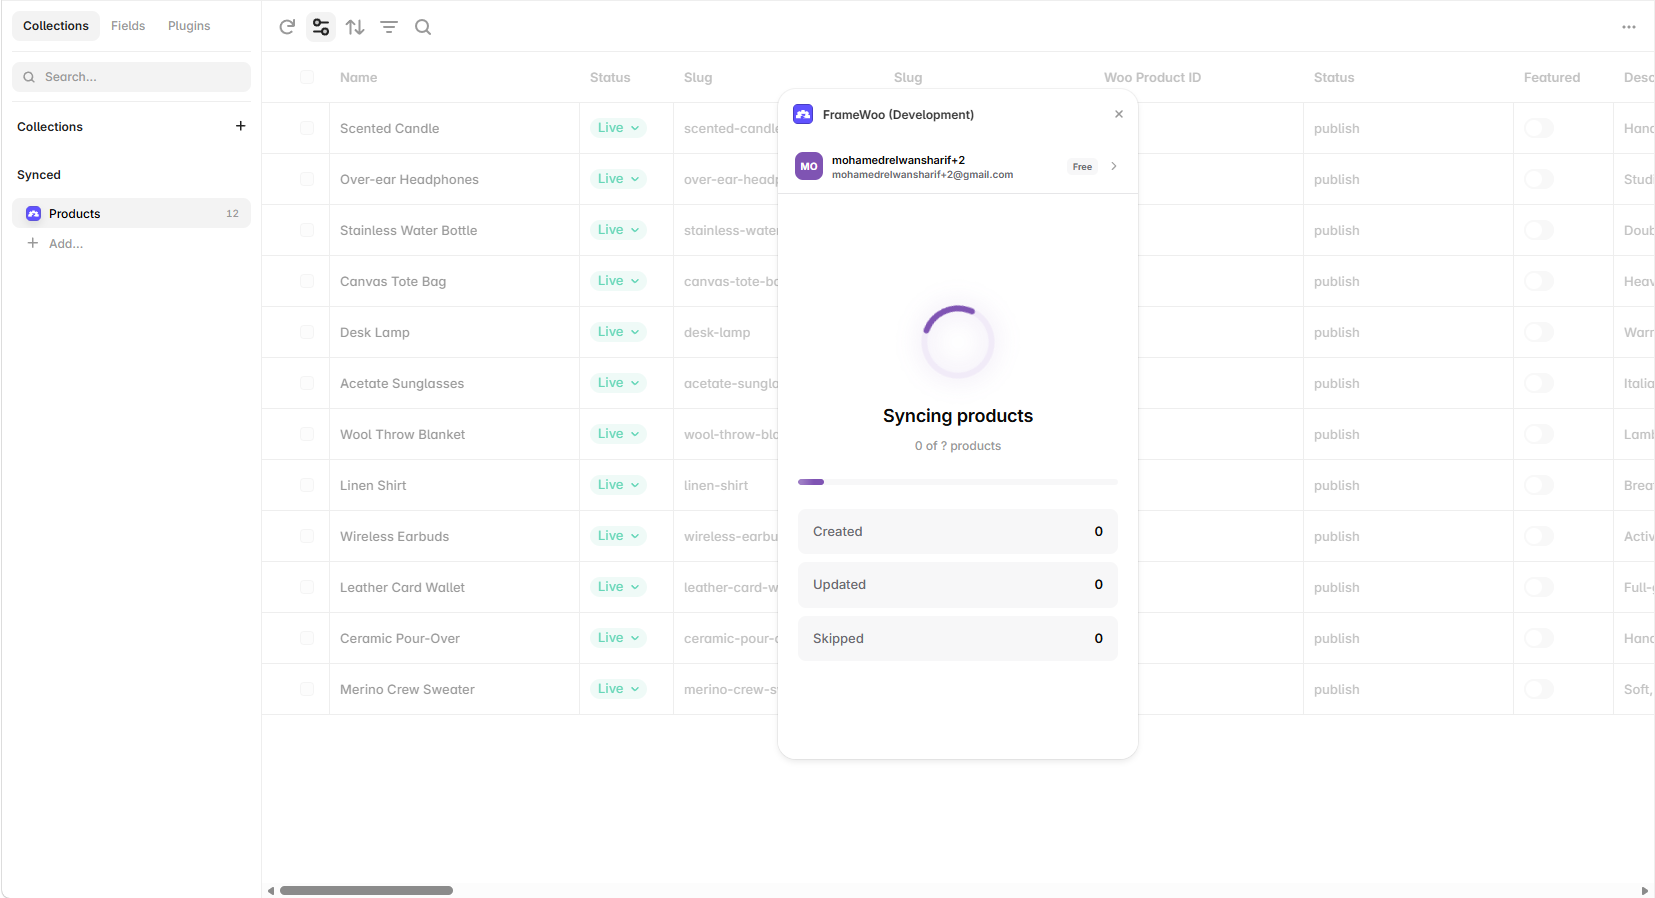
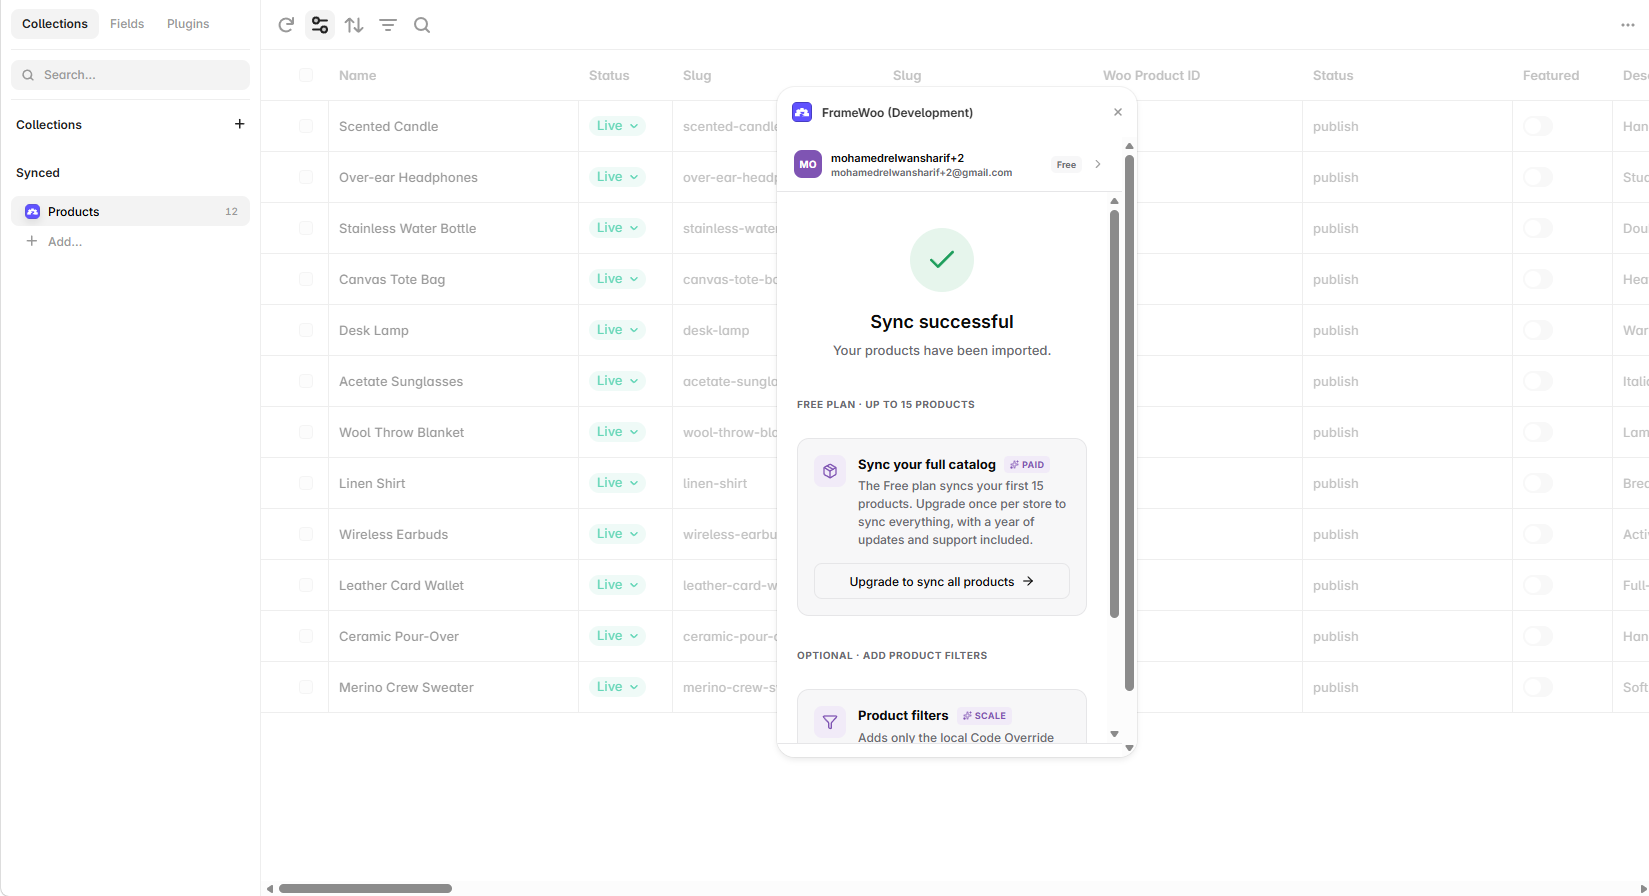
Open FrameWoo from inside the Products collection. Select the collection, start the sync, and wait for the success confirmation.
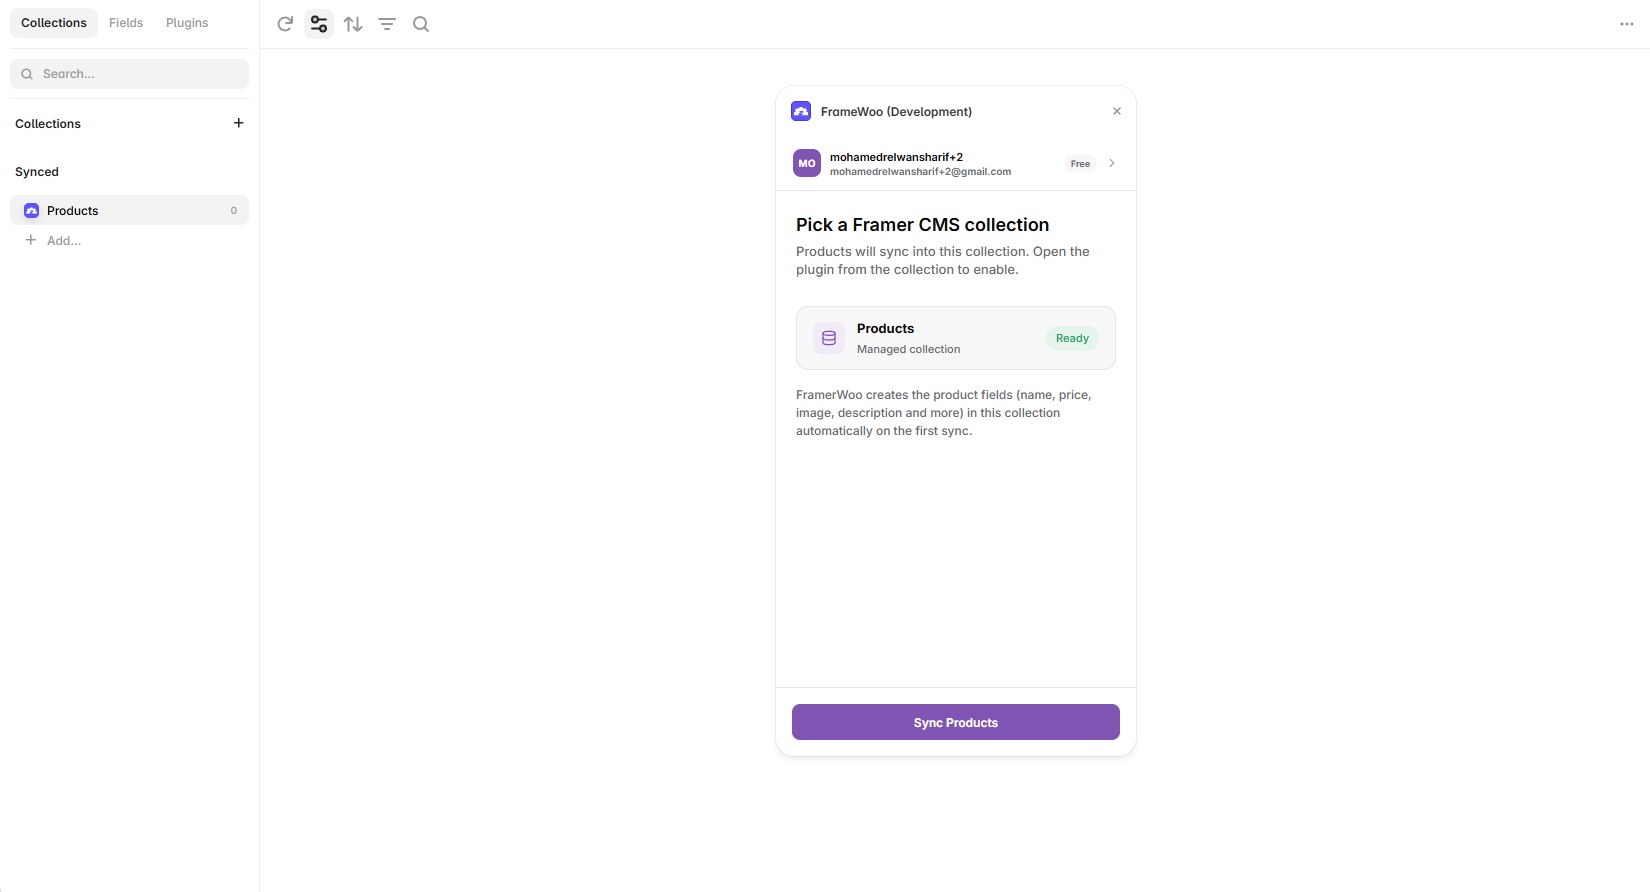
- Open the Products collection in Framer CMS.
- Open FrameWoo from the collection Plugins control.
- Select the Products collection marked Ready.
- Select Sync Products.
- Wait until FrameWoo reports Sync successful.
7. Manage sync and add store components
After the first import, use Manage for later syncs and Components to insert WooCommerce elements into your Framer pages.
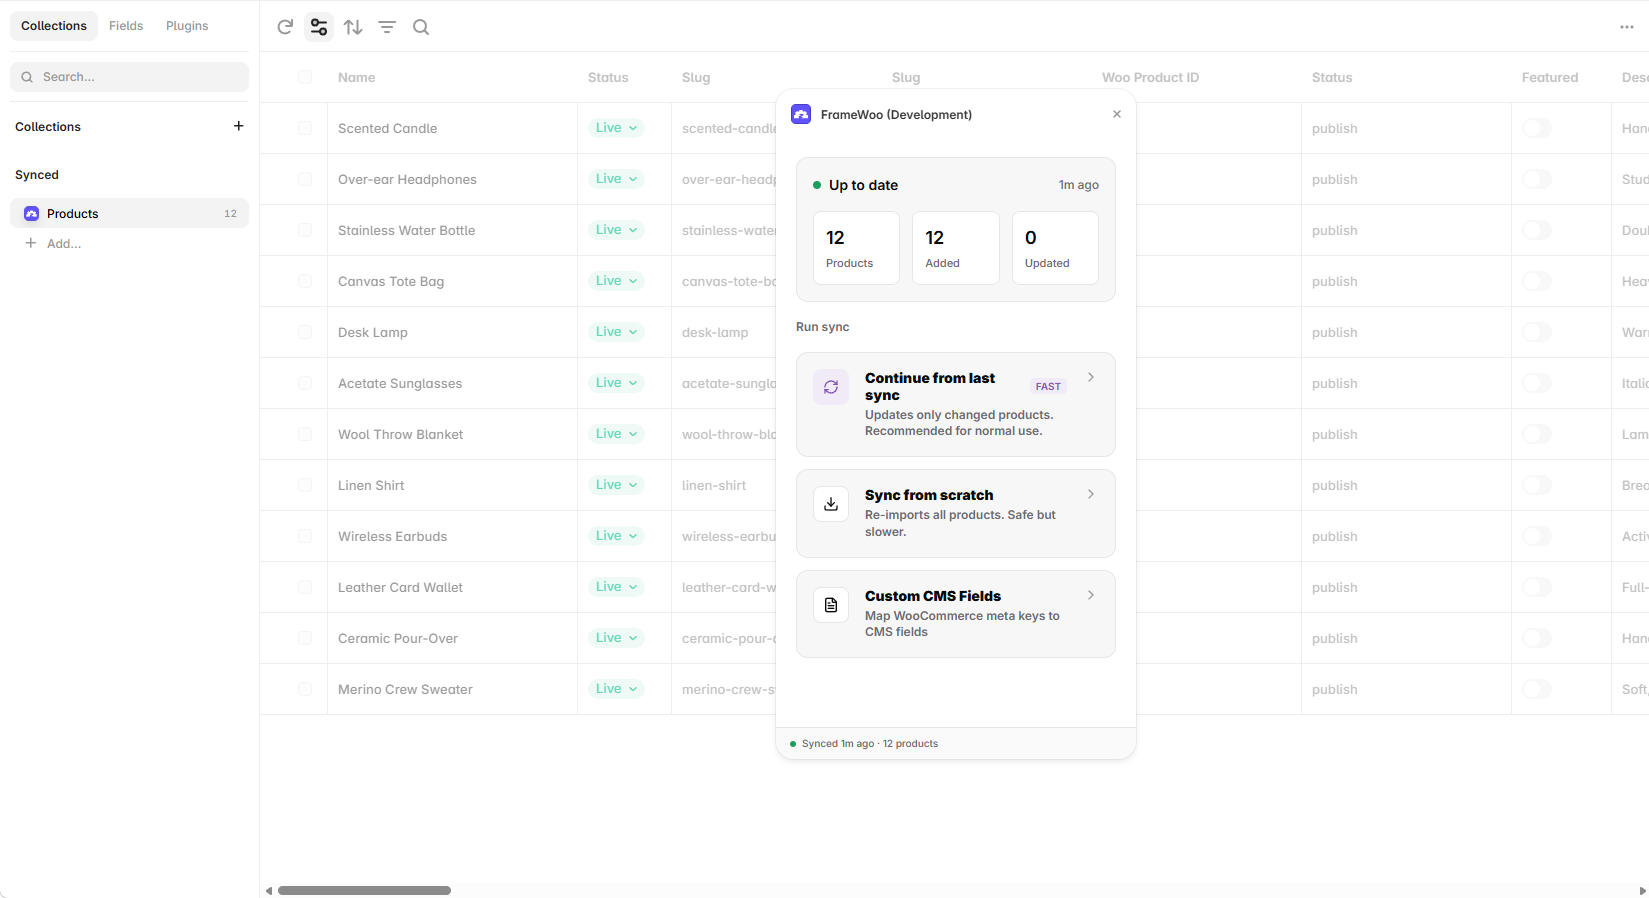
Choose the correct sync mode
- Continue from last sync: imports only new or changed products.
- Sync from scratch: re-imports every product.
- Custom CMS Fields: maps WooCommerce metadata to collection fields.
Add a component
- Open the Components tab in FrameWoo.
- Select the site and Products collection from the top controls.
- Find a component such as Product Price, Stock Indicator, or Add To Cart.
- Select the + button to insert it on the Framer canvas.